DIY – Hanging decoration
When it comes to wedding colours I really love it whenpeople use a whole range of tones of the same colour, rather than sticking to just one. So when I am thinking about colours I will often pick up a few paint-chips from a local DIY shop. Then you can get a whole range of tones for the colours, this DIY turns those little blocks of colour into something completely new. You could use it for a photograph backdrop or just a decorative addition.
What You Need
- Paint chips (mine are orange and peach tones)
- Scissors
- Twine
- Glue
Method
This really is as simple as you would expect.... Two thing to note if you have paint chips with names in the colour make sure you chop them off too. Check all the colours are the same size!
1. Chop off the coloured panels
2. Chop off 1 length of twine (mine were 1.3m)
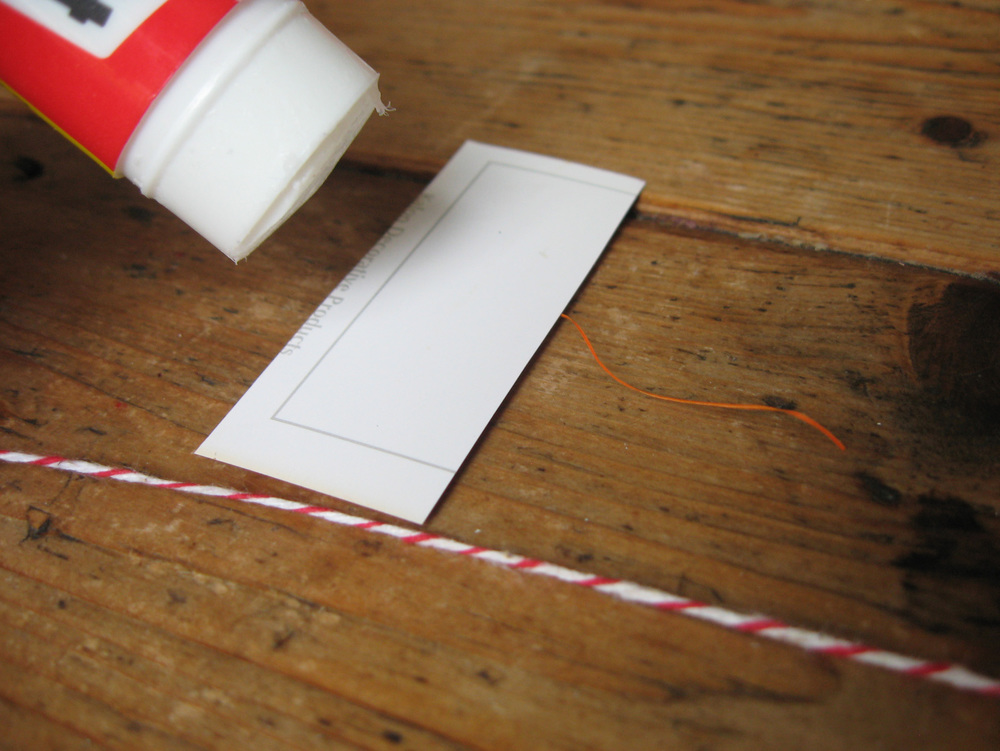
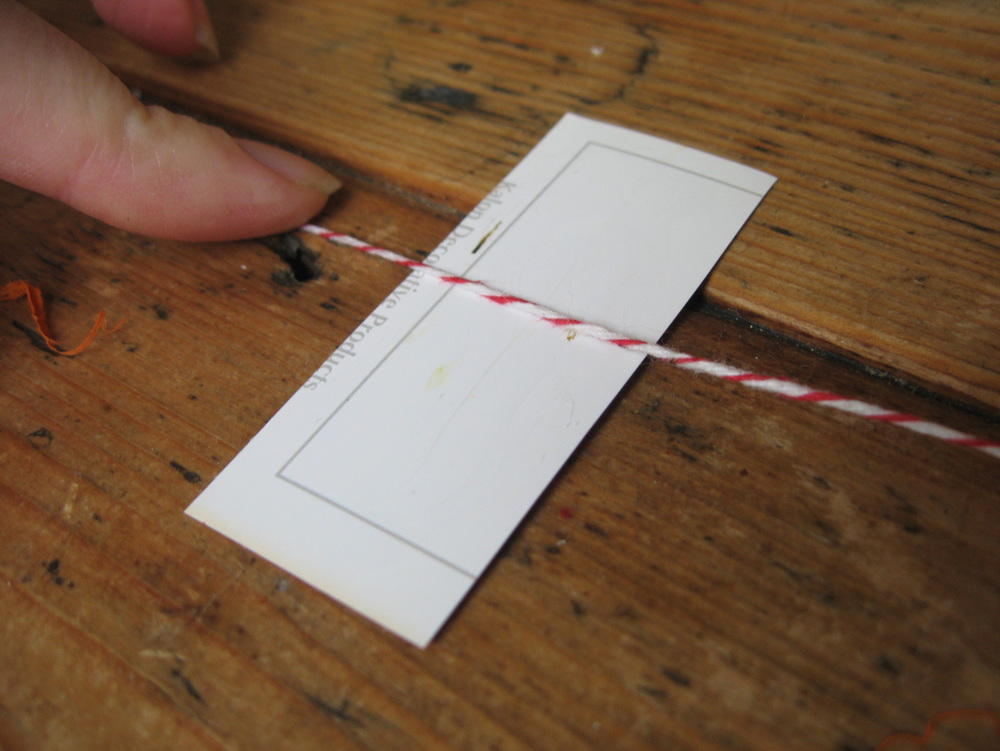
3. Glue the bottom chip, place the twine in the middle then stick the top chip
4. Space them at 7cm intervals
5. Stick until done!
Seriously simple and really effective - If you have a complementary colour wall or backdrop behind it really helps them to stand out - so they look really striking. Though unfortunately they are a little hard to photograph!


